
Hello all, I'm Whitney from Thrifty and Nifty Chica. I wanted to share a quick way to decorate for every holiday. This can be a really quick project, but you can enjoy it all of the time. I wanted to make a advent calendar that wasn't just to be used for Christmas. I used a large frame for the calendar, and a medium frame to change with different greetings for the holiday or party or whatever you choose to use it for.


In order to create the calendar I needed to string wire across the back of the frame. I took the glass and cardboard out of the back and set it aside. You will not need them. I quickly marked off three inch segments along the back. I then pre-drilled holes for my hooks. I screwed them in to get them threaded, and then took them out and covered them in epoxy. I don't want the screws to pull out of the mdf.

I then used my needle nose pliers and pulled the wire through the holes and twisted it tight.

This picture is hard to see, but you get the idea. Then you just need to run a quick coat of paint over the front. I chose cream because I want to be able to use it with all different colors of paper. Really your options are limitless.


I pulled out my Silhouette and cut out some quick shapes that reminded me of summer. Trust me, I really need to be reminded that summer will come, eventually.

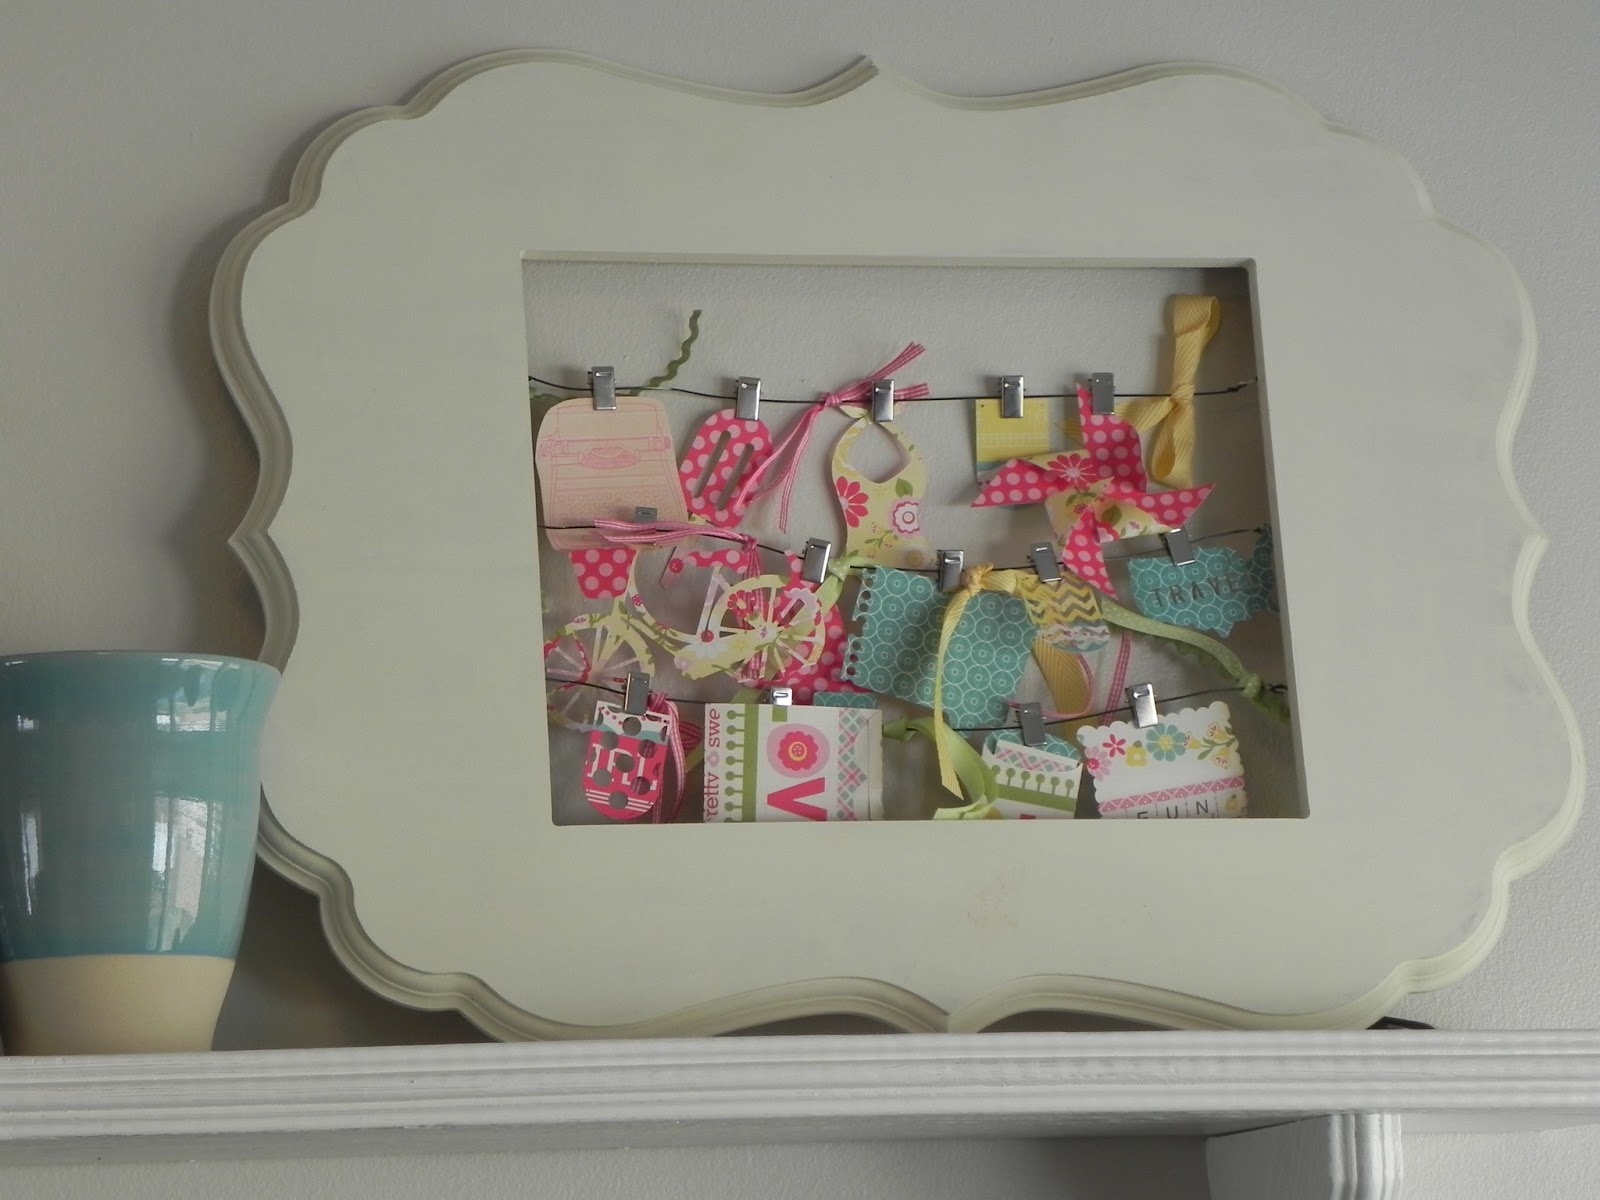
You can see I've got the theme going here for summer. You could do cut outs for birthdays and all other special occasions. I know you all can come up with some great stuff.

I then found some clips at Michaels that work well on the wire. I wanted to find tiny binder clips, but I only had a few in my desk. You could use clothes pins too.

I added the medium frame, so that I could use cute sayings about each season change, or holiday.


Note: the banner is from the Wood Connection too. I love the pop of color it adds to my room.


It looks great displayed on a shelf or hanging on a wall. The back of the frame is made to stand with wood dowels, or hang on a wall. It is quite simple to change back and forth.


I can't wait to hear what you think. Leave a comment (tell me what you would make) to be entered in to win a $25 gift certificate to The Wood Connection.
Enjoy!
I love the idea of a versatile frame to change every season!!! You are very creative! If I win (please please please) I would get that circle frame you used and put in different sayings for each month... And the potted flowers they have right now... Thanks!
ReplyDeleteI love the Wood Connection and all the different things you can do with the fun stuff they have there! I would make some super cute frames for all my family pictures.
ReplyDeleteSuper cute idea. I love christmas countdowns, but never thought of a versatile one for each season. My kids are always asking my how long it is until Easter, Birthday, Visit to Grandma's, etc. I would love to make something like this. The Wood Connection has a lot of great frames :)
ReplyDeleteGood Idea! I love how versatile it is! Stuff that goes for every holiday is my kinda decor. :) I would make something for fourth of july. Its my fave. :) Maybe a vintage flag from their wood peices or something. Thanks for sharing your creativity!
ReplyDeleteWhat a cute idea! I love The Wood Connection. I would probably get spring or summer crafts, because I also need something to remind me that nicer weather is coming (even though it's hard to believe right now).
ReplyDeleteCute idea! Love the wood connection!!!
ReplyDeleteKrystal
thegemini2 at yahoo dot com
I love the "Hello Summer" frame. Did you make the sign? If you did, how did you do it?
ReplyDeleteLove The Wood Connection!
Love everything! I think I may copy cat a Lil. Look forward to your other posts! PS. Excited for the giveaway
ReplyDeleteIm wanting to make the Hello summer!
DeleteHi there! I found your blog from The Wood Connections site and I just wanted to let you know that I nominated your blog for the Liebster Award. For more information on what this is and all that jazz, just follow the link below. :) Congratulations!
ReplyDeletehttp://www.adreamcrafter.blogspot.com/2013/05/the-liebster-award.html
-Ali
Dream Crafter
www.adreamcrafter.blogspot.com