To begin, take one used book. I picked one up a DI for two dollars. I wanted an old book so the pages would appear very worn. If you don't like the thought of destroying a book, quit reading here....
Take three or four pages and tear them out.
Draw a swirl pattern starting in the middle of the book. Try and keep the lines evenly spaced, so your flower is the same all the way around.
Here is the close up of the lines. I drew it in a pink pen, so it doesn't show up very well in the pictures. Start on the outside edge and start cutting it around.
It will look like this when you are done cutting.
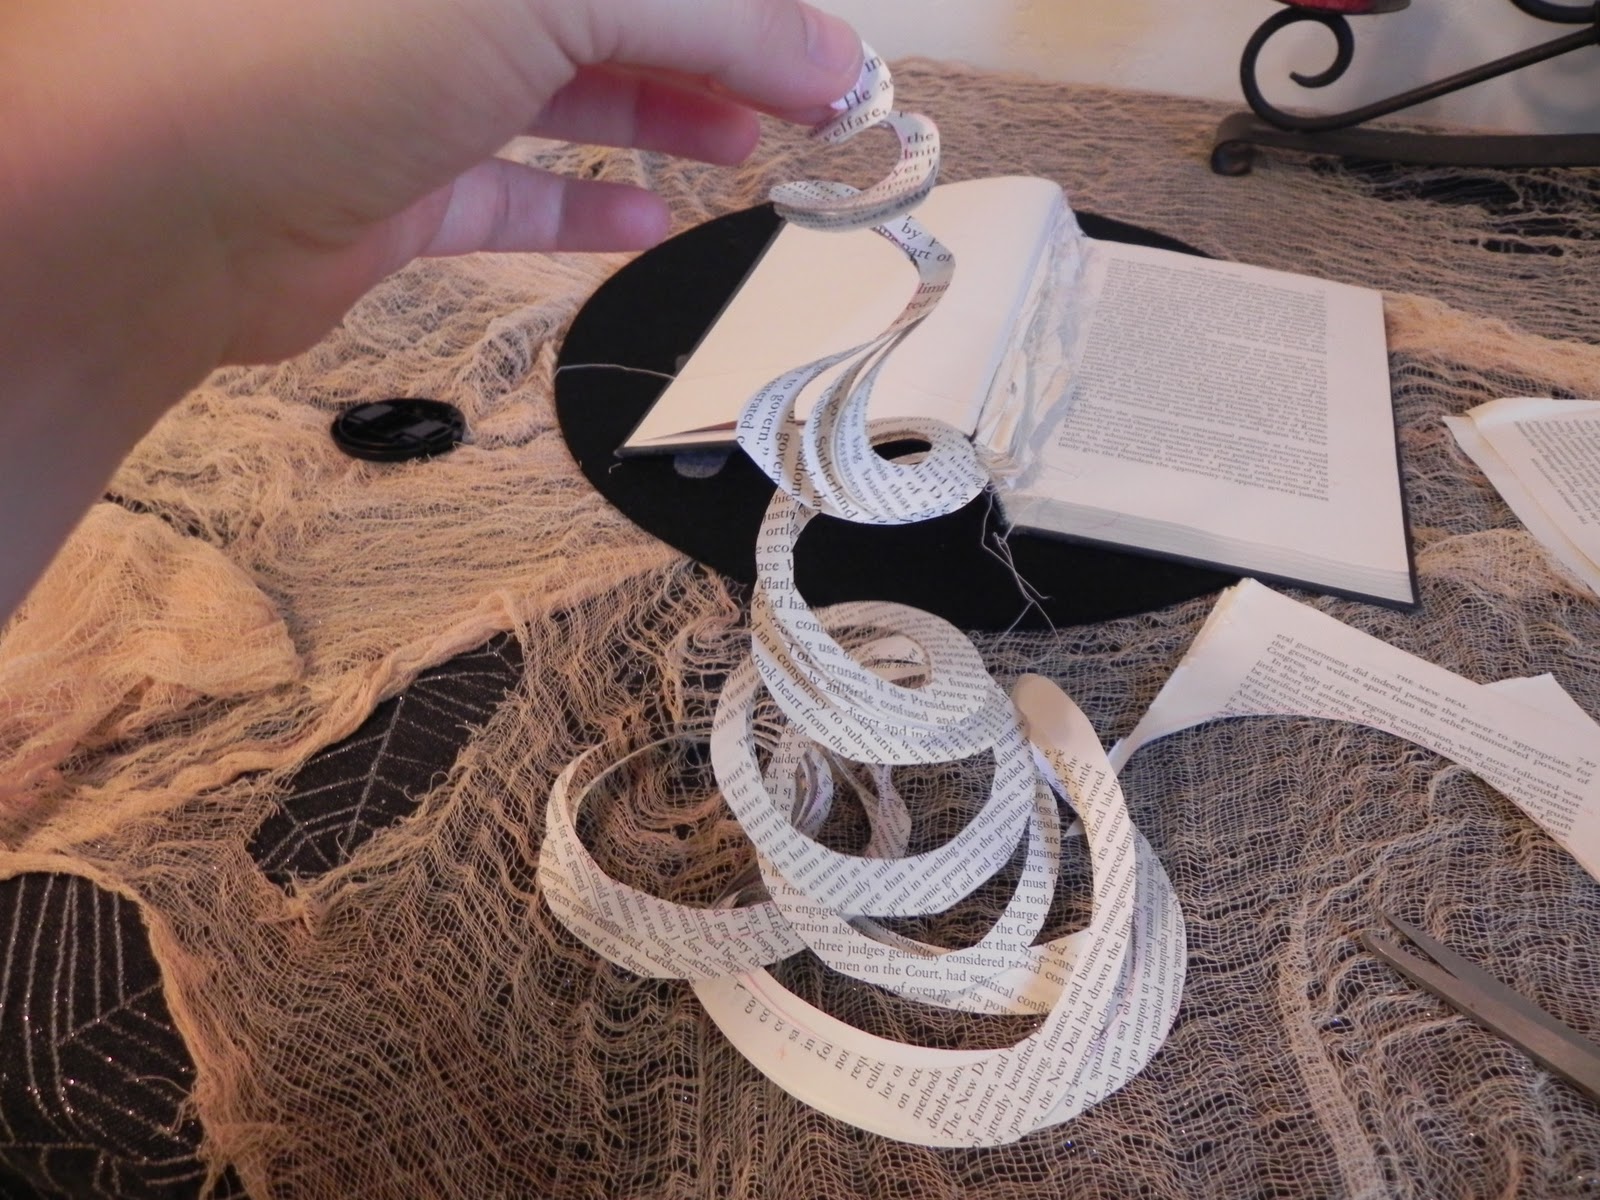
Line up the edges, so that you can begin rolling them together.
You will roll the center really tight, and then loosen up as you get farther out.
Keep rolling.
Now you have the nice round center at the bottom of the flower shape. Fill the bottom with hot glue, and then push the round part over the glue. This helps keep the whole thing together and stable.
This is the result of one flower. Aren't they cute?
Are you now prepared to make a hundred or so of these? If you are then you can proceed with the project.
When you have a few done, then you can begin hot gluing them onto a wreath form.
Are you starting to get the picture?
Almost finished product. I wasn't going to have time to finish the whole thing so I wrapped some pages around the rest of the wreath. I will continue to fill it in when I get the time. These wreaths(although much smaller than mine) are being sold on $40.00 or more on Etsy. I think its going to be quite lovely. Now you can see why I may have gotten a few burns. In case are are interested my finger is doing better. I am receiving treatment from my roommate, Brittany, who works in the Burn Unit. Lucky I have here to look after me when I make foolish mistakes.


 What the heck is that you may ask. Just keep going.....
 Its a super cute bag. And yes I made it. It took me almost all day but I figured it out. thanks to Sara and mom for translating the instructions a few times. It is the Amy Butler Birdie Sling pattern. I would recommend this pattern for any beginner. You have fabirc leftover, which you could then turn into cute headbands or use them as little scraps in other quilts.
  I made this on Monday. I decided that I needed to become a quilter, like everyone tells me too. Not bad.
  These are the ingredients. Tomatoes, Basil, Olive oil, Garlic, Crescent Rolls, and Provolone Cheese.
 Make a Basil and Garlic infused olive oil. Just add them all together in the pan, and let it warm up. Its going to smell great.
 Spread out one can of rolls in a pie tin, and then poke them with a fork. Stick them in the oven for 15 minutes at 350.


